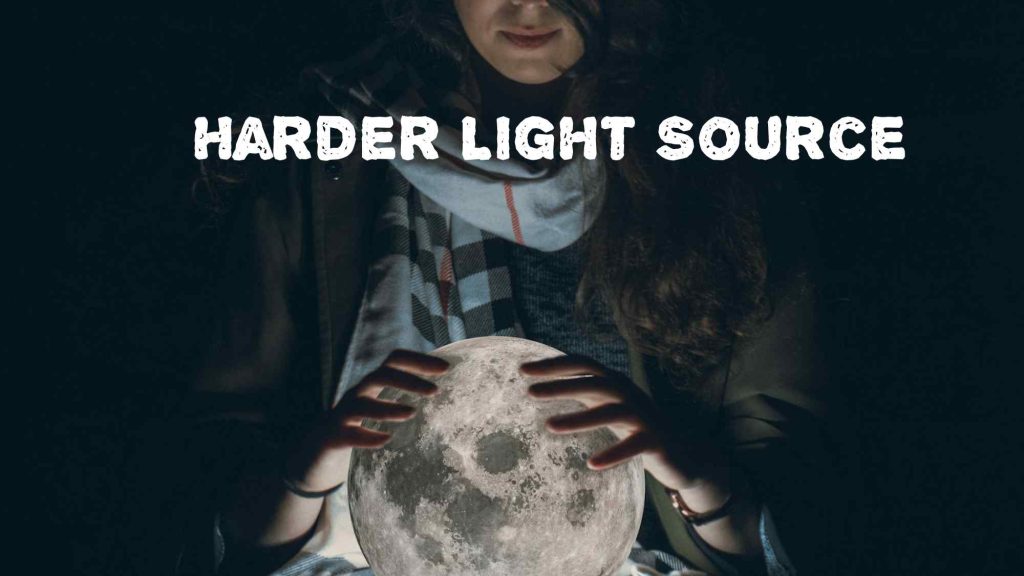
Create Bold, High-Contrast Portraits That Command Attention
When it comes to lighting portraits indoors, most photographers lean on soft light to flatter their subjects. But what if you want something more powerful, edgy, or cinematic?
That’s where hard light comes in.
Using a harder light source in your indoor photoshoots can completely change the mood—adding depth, character, and raw intensity to your portraits. In this blog, we’ll explore how to intentionally create drama using hard light, even in small studio spaces or home setups.
💡 What Is Hard Light?
Hard light is a type of lighting that creates:
- Sharp, defined shadows
- High contrast between light and dark areas
- More texture and dimension on your subject’s face and background
It comes from a small or undiffused light source, such as a bare bulb, flash head, or direct sunlight through a window.
🎯 Rule of thumb: The smaller the light source relative to the subject, the harder the light.
📷 Why Use Hard Light in Indoor Photography?
Hard light isn’t always flattering—but it’s incredibly expressive. It’s ideal when you want to create:
- Moody portraits
- Editorial-style fashion images
- Dramatic headshots with depth
- Vintage film or noir-inspired looks
- Storytelling portraits with tension or attitude
It also works beautifully in black & white photography, emphasizing contrast and shape.
🛠️ What You Need for Hard Light Indoors
Here’s the best part: you don’t need fancy gear—just control and intention.
🔧 Tools for a Hard Light Setup:
- Bare speedlight or strobe without diffuser
- Reflector dish, snoot, or bare bulb
- Modifiers: grids, barn doors, or black flags
- Black backdrop or neutral wall
- Optional: bounce fill to soften just a touch
✅ Even a desklamp, flashlight, or bare bulb LED panel can work for DIY hard light in a home studio.
🎬 Simple Hard Light Setup Indoors
🔹 1. Key Light Placement
Position your bare light source at 45° to the side of your subject. You can also experiment with side or top lighting for extra drama.
- Distance: Keep the light close (2–4 feet) for more intensity.
- Height: Raise the light slightly above eye level and angle it down.
🔹 2. Control Light Spill
Use grids or barn doors to narrow the beam and avoid lighting the background too much.
- Place black flags or v-flats to control reflections.
- A dark background works well to enhance contrast.
🔹 3. Optional Fill Light or Reflector
If the shadows are too harsh, bounce a little light back with a white card or reflector. This maintains drama while saving shadow detail.
🎭 Lighting Styles to Try with Hard Light
🎥 Cinematic Split Lighting
- Position your light to one side of the face, keeping the other side in near-complete shadow.
- Perfect for film noir, thriller, or introspective portraits.
🎨 Rim or Back Light
- Place your light behind the subject for glowing edges.
- Great for silhouettes, fashion, and creative backlighting indoors.
📸 Butterfly/Paramount Lighting (Undiffused)
- Place the light high and centered above the subject’s face for bold shadows under the nose and chin.
- Works well for vintage or old-Hollywood-style portraits.
🎯 Best Subjects for Hard Light
- Male portraits with facial texture or stubble
- Editorial fashion shoots with bold makeup or clothing
- Musicians, actors, or artists needing strong personality shots
- Character studies or cinematic storytelling
⚠️ Common Hard Light Mistakes to Avoid
❌ Using the wrong angle – If the light is too flat or centered, it may wash out shadows and reduce drama.
❌ Overexposing the highlights – Hard light has intense falloff; meter carefully or review your histogram.
❌ No light control – Without flags or grids, hard light can spill everywhere and reduce contrast.
❌ Cluttered background – Hard shadows on busy backdrops can look messy. Keep it simple or use black.
✨ Real-Life Example: Dramatic Headshot at Home
Setup:
- Bare speedlight with 20° grid on camera right
- Black cloth background
- No fill, just a small white bounce card on camera left (optional)
- Subject positioned 3 feet from background
Result: Bold contrast, clean shadows across the face, and a compelling, intense expression that jumps off the frame.
🧠 Final Thoughts: Hard Light = Bold Emotions
While soft light is forgiving and safe, hard light gives you power. It allows you to sculpt with light, not just illuminate. You can go subtle or intense—but either way, you’ll create portraits with impact, mood, and purpose.
🎙️ Hard light is about choices. Once you control it, you don’t just take photos—you make statements.
🔔 Follow Photoclick for More Lighting Tutorials
Explore more lighting setups—beauty, cinematic, moody, minimal, and more—tailored for photographers who shoot in real homes and small studios.
Want lighting diagrams or a cheat sheet for hard light setups? Let us know—we’ll create one for you!