Achieve Balanced, Professional Portraits with This Simple Lighting Technique
Lighting is the heart of photography, and when shooting indoors, it becomes even more crucial. While dramatic shadows can add mood and contrast to your images, they can also cause loss of detail, especially on the shadow side of your subject’s face.
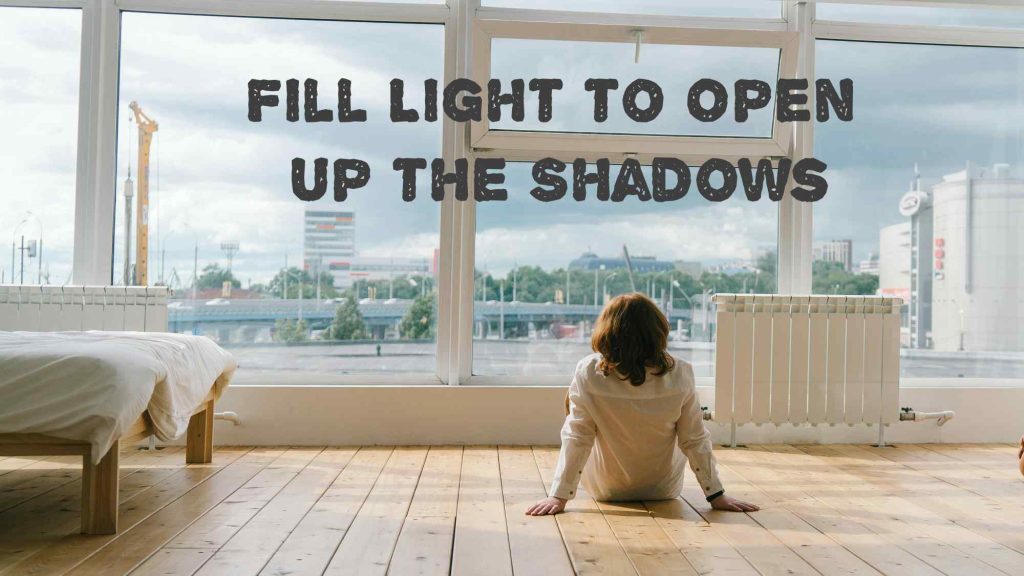
That’s where the fill light comes in—a subtle, often overlooked tool that can transform your photos from harsh to polished with just a touch of light.
In this blog, you’ll learn:
- What a fill light is
- Why it’s essential in indoor photography
- How to use it effectively
- Easy setups for home studios
- Common mistakes to avoid
💡 What Is a Fill Light?
A fill light is a secondary light source used to “fill in” or soften the shadows created by your key light. It doesn’t eliminate shadows completely but reduces their intensity, revealing more facial features and improving dynamic range.
Think of it as the gentle light that evens out contrast without stealing attention from your main light.
🎯 Why Use a Fill Light in Indoor Photography?
Indoor shoots often have limited natural light and tight spaces, which can lead to:
- Harsh shadows under the eyes or nose
- Uneven lighting on the face or body
- Lack of detail in darker areas
By introducing a fill light, you can:
✅ Reveal hidden details in the shadows
✅ Create a more flattering, balanced portrait
✅ Maintain drama without losing subject clarity
✅ Avoid overexposing your key light to compensate
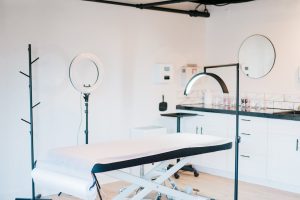
🛠️ What You Need for a Fill Light Setup
You don’t need a second professional studio strobe. Here are flexible options depending on your space and budget:
Basic Tools:
- Key light (softbox, speedlight, LED, etc.)
- Fill light (smaller LED, reflector, or bounce source)
- Modifiers (umbrella, softbox, or diffusion panel)
- Light stands or clamps
- A white or silver reflector (even foam board works!)
🔄 Your fill light doesn’t always have to be a second light—it can be a bounce from a reflector or wall.
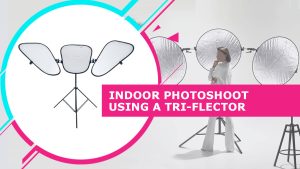
📷 Simple Indoor Fill Light Setups
🔹 1. Two-Light Setup (Key + Fill)
This is the most classic and controlled way to use a fill.
How to do it:
- Place your key light at a 45° angle to your subject.
- Place your fill light on the opposite side, about 30–60° off-center.
- Keep your fill light’s power set to about ½ to ¼ the intensity of your key light.
- Use a softbox or umbrella to diffuse the fill light for a natural look.
💡 This setup gives you soft, even light with enough depth to avoid a flat image.
🔹 2. Reflector as Fill (No Extra Light Required)
Perfect for natural light or minimal gear setups.
How to do it:
- Place a white or silver reflector on the shadow side of the subject.
- Reflect light from your key or natural source back into the shadow areas.
- Move it closer for more fill, farther for softer shadows.
🪞 Try using a white foam board, a silver car sunshade, or a purpose-built 5-in-1 reflector.
🔹 3. Bounce Fill Off a Wall or Ceiling
Great for small home studios with limited equipment.
How to do it:
- Bounce your key or secondary light off a nearby white wall, ceiling, or V-flat.
- Angle it so the reflected light hits the subject’s shadow side.
- This creates a broad, soft fill effect with natural diffusion.
📏 Distance matters: The closer the bounce surface, the stronger the fill.
🧠 Fill Light Ratios: How Bright Should It Be?
The fill-to-key light ratio affects the overall mood of your portrait:
| Fill:Key Ratio | Look | Effect |
|---|---|---|
| 1:1 | Flat | Minimal shadows, beauty lighting |
| 1:2 | Natural | Soft shadows, balanced portraits |
| 1:4 or higher | Dramatic | Strong shadows, moody feel |
You can measure this using a light meter or visually by comparing histogram or image preview.
🎯 Tip: Aim for 1:2 ratio for most indoor portrait work. It gives depth without going too harsh.
🔥 Pro Tricks to Get the Most from Your Fill Light
- Use color temperature creatively: Slightly warmer fill can soften skin tones.
- Feather your fill light: Angle the softbox so the edge of the light hits the subject for a softer touch.
- Add a grid to your fill light to control spill onto the background.
- Use black flags to block fill if it overpowers your key shadows.
⚠️ Common Mistakes to Avoid
- 💡 Fill is too strong: You lose depth and the image looks flat. Dial it down.
- 💡 Wrong color balance: Mismatched lights can cause weird skin tones.
- 💡 Filling from the wrong angle: Makes facial features look unnatural.
- 💡 No separation from background: Add a hair or rim light if needed to bring the subject forward.
📸 Real-World Example: Beauty Portrait at Home
Setup:
- Key light with softbox at 45° (camera left)
- Fill light with umbrella at 30° (camera right), 1 stop lower
- Reflector below chin to soften under-eye shadows
- White wall as background
Result: Balanced, soft portrait with clean shadows and smooth skin tones—ideal for headshots and beauty work.
🧠 Final Thoughts: Fill Light Is the Secret to Flattering Photos
Whether you’re using a second light, a reflector, or just bouncing off a white wall, fill light is one of the easiest ways to elevate your indoor portraits. It doesn’t require fancy gear—just smart placement and intention.
🎙️ Bottom line: Shadows add depth, but controlled shadows tell the story.
🔔 Get More from Your Indoor Setups
Subscribe to Photoclick for weekly lighting breakdowns, gear tips, and creative setups—even if you’re working with just a tiny home studio.